Chicken and Potato Casserole

If there is one meal most appropriate and easy to make during the winter, it’s casseroles. I especially like them for those days when you’ve either had a late night or the times are hard, and you need to throw together a quick meal. Either way casseroles are a great idea to compliment your time and your appetite.

So today we’re making a Chicken and Potato Casserole.

chicken casserole title
You will need:

 
Boneless Skinless Chicken Breast
Medium Russet or Idaho Potatoes
Frozen Mixed Vegetables
Shredded Cheese
Olive Oil
Garlic Powder

 
This is gonna seem a little backwards compared to how most do it, but I’m an overtly paranoid “Must Be Well Done Or Else” kinda cook so I bake my chicken first actually before cutting them into pieces.
So set your ovens to 350 F and let your chicken cook. After it is done (make sure it’s not dried out though), slice the chicken into 1 inch pieces

 
*clearing throat* > in real life I don’t do much measuring. What I really wanna say is to just cut them into small pieces, but I don’t want the experts to get lost 🙂


Cut your potatoes into 1 inch pieces as well (for those of you who really don’t know how to cook or your on a low budget, just use frozen potato wedges. The world will never know).

 
Grease your roasting pan or baking pan of choice with some spray oil.

 
Spread the diced chicken, frozen veggies, and potatoes evenly on the baking pan.

 
In a large bowl, mix together the olive oil, garlic powder, salt, and pepper. Pour mixture over the chicken, veggies, and potatoes; make sure to coat everything nice and evenly.

 
Bake uncovered for about 45 minutes. Since the chicken is already cooked it’s not going to take that long, but if your chicken is cooking with everything else, bake uncovered for about 50 minutes – 1 hour.

 
Remove from the oven and sprinkle with cheddar cheese. Bake again for another 5 minutes so the cheese can melt.

 
Remove from the oven and smash the game < code for devour.

Taco Soup

TacoSoup


Today we are cooking up something nice and warm to compliment the cold weather currently creeping into our households and capturing pictures of adults hiding under the covers.

Now, this recipe can actually be altered according to your personal touch because you’re basically making a Taco Flavored Chili. You’ll need:

• Ground Beef
• Kidney, Black, and Pinto Beans
• Shredded Cheddar Cheese
• Spicy Doritos
• Salsa (or Stewed Tomatoes, Onions, 1 can diced tomato with chilies, 1 can green chilies. If you use the Salsa you really don’t need to add the individual ingredients unless you’re a big time chef and you do that kind of thing. But if you’re not much of a cook, Salsa will knock that right on out lol,)
• Taco Seasoning
• and Corn (opt.)

• Take a skillet and on medium heat brown the Ground Beef, drain. Add the taco seasoning and mix well just as if you were making tacos.

• Scoop the ground beef into a big pot adding the beans

• Add water, salsa mix and more taco seasoning, along with other seasonings of choice (but keep it along the lines of a Taco / Chili like flavor). Also add the corn or anything else you would like to add to the mix.

• Let everything cook and gel together on medium heat. Stir occasionally so that the bottom does not burn.

12992581_201307191112

While that simmers, make a bed of Spicy Doritos in a bowl (You can actually choose your tortilla of choice but Spicy Doritos compliments this dish really well.). Scoop your soup into the bowl, covering the Doritos. Sprinkle the shredded cheese on top along with any other topping of choice like sour cream.

Enjoy!

Chocolate Chip Fudge Brownies

So if you’re a non-chef like me but you’re also married and enjoy serving your hubby delicious recipes, today’s Sunday Sweet Treat is definitely for you, it’s even all natural.

brownies-sliderToday we are cooking up Chocolate Fudge Brownies using Marie Callender’s Fudge Brownie Mix.

Directions:

You Will Need:

1/3 cup oil, 2 large eggs,   (2 Large eggs for chewy brownies. 3 Large eggs for cakey brownies) 1 Tbsp water, Chocolate chips

Preheat oven to 350 degrees F.

1. In a bowl combine 2 large eggs, 1 Tbsp water, 1/3 cup oil. Mix well.
2. Add dry mix and mix only until combined (about 30 strokes).


141025_0001
3. Now, this recipe is for extra fudge, chocolate chip brownies. So at this point you are going to take your chocolate chips and place them into a greased baking pan. I like to use the muffin pan (as those of you who are familiar with this blog already know), but you can do the same thing for a regular one sheet baking pan as well. Grease the pan and place the chocolate chips down first. I used Hershey’s Baking Melts, round flat chocolates, and placed them at the bottom of the greased pan.

 
4. Pour brownie mix from step #2 into greased baking pan, spread evenly. (For chocolate layered brownies, pour some of the mix into the pan first, then the chocolate chips, and then pour the rest of the mix in last.)

141025_0004
5. Bake at 350 degrees F for 30-35 minutes. High Altitude Baking: Add 2 Tbsp of water. Yield: 12 (1.75 x 1.75) bars. To make 8 x 8 pan use (1 lb) of mix and bake for 30- 35 minutes at 325 degrees F. For richer brownies, substitute melted butter or margarine for oil.


141025_0009

Step #6: Enjoy!

Bisquick Chicken Pot Pie

picT8T1b1

For today’s recipe Sunday, we’re making Chicken Pot Pie! It’s one of my favorite dishes and so easy to make. You won’t get my exact recipe, but here’s the next best thing.

 
You’ll need:

 
• Chicken (obviously right). Get the Chicken breast or boneless so it’s easier to cut into pieces.
• Bisquick Pancake Mix
• Frozen Vegetables (or raw vegetables for you fancy chefs out there)
• 1 Egg (more if you’re making a large portion)
• Milk

Preheat oven to 400°F.

First, cook the chicken fully and slice it up into tiny chicken pieces.

picz1alAQ

Mix chicken pieces, veggies and cream of chicken soup together and spread into bottom of greased pie pan or pan of choice (it tastes better if you use melted butter as a lubricant instead of regular spray oil). Also, when I’m making a large portion, I like to use a roasting pan in replace of a pie pan.

Mix remaining ingredients (Bisquick, milk and egg) and pour on top of chicken mixture.

Bake in oven for 30 minutes or until top turns golden brown.

Enjoy!

IMG_2212

*Note: The pictures used in this post are not mine. I did not have time to take pictures of the one I made but these use the same ingredients and look just as good! 🙂

Reflections

8155-honest-self-reflection-opens-your-mind-to-re-programming-change

Have you ever sat still just to reflect, to meditate, or to put things into perspective? Do you remember how you felt after you did that? Did this bring you peace? Depression? How does reflection affect you?

It’s a good idea to seek to understand more about yourself sometimes. We live in a world that is so occupied with trying to figure out why others are doing what they’re doing and why we should care that we seldom have time for ourselves. I don’t mean time for ourselves in the selfish sense of the word because if you can’t figure how to help someone else, have you actually succeeded in life? Aside from money, family and friends have you helped someone today? So, not selfishly, but reflectively, how often do we preserve time for ourselves? What is it about you, that makes you, you? What is it that you would like to change about yourself? How can you as the individual use your gifts to help better the world? Do you even care about such things? And you can be honest; it’s just you and life right now. Being true to yourself and being able to recognize those things about you can give way to great peace. If a homeless man thought he was a rich man, he will never fully function until he realizes the truth. He will not be able to take his rightful place until he realizes he is out of his place. The foundation of truth is rooted primarily in a people’s ability to know who they are. It is an identity that gives way to the substance in our lives. It is what we live for and what we die for. It is the struggle to appreciate our part in the world and to appreciate others and how their contribution is interconnected with our own.

So today, do not worry about how others see you, how many mistakes you made, or even how great you are, just reflect. What is it in your life that you need to change for the betterment? What is it that you can improve on? Think about these things without adding anyone else into the equation. Like I said, this is just you and life right now. Nothing else in the world matters at this moment.

DIY: Crisco and Butter Candles

It’s Sunday again and that means another exciting recipe here on The PBS Blog. We’re gonna switch it up a bit for you today though. Instead of cooking up a delicious treat, we’re going to take a look at two ways you can keep your light shinning in the event of an emergency.

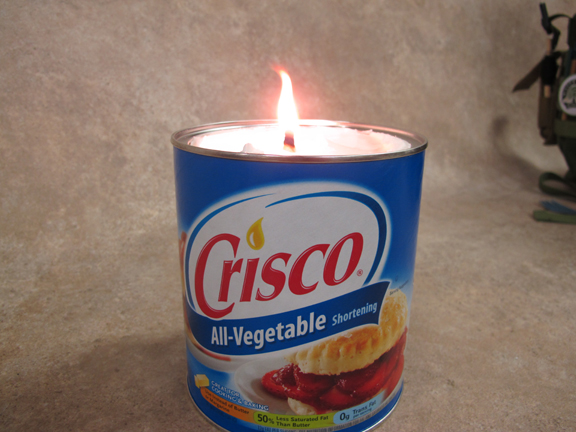
How to Make a Candle using Crisco

crisco-candle

Did you know that the Crisco Company used to be a candle company? Which means you can use Crisco to make candles.

You will need:
• Any sized tub of Crisco Vegetable Oil (I recommend the large 48 oz tub)
• Candle Wick (10 inches for a 48 oz tub)
• Stick
• Lighter

Take your stick and pierce a hole in the middle of the Crisco all the way down.
Next, take the Wick and use the stick to help stick it down to the bottom of the can. Hold the wick with one hand, and use the stick to work it down the hole with the other hand.
And finally, light the candle.
Yup, it’s that easy. But before we move on, let us establish some safety rules:
If you Google or YouTube Crisco Candle you will get loads of information about it since everybody and everybody’s mothers pretty much know about this by now. But one of the primary pieces of information you will also find in addition to how to make the candle itself is that this candle will burn for 45 days. Stop Here.
First of all,  I’ve never tried to burn it for that long, nor will I attempt to, and nor should you try to either (didn’t ya mama ever teach you not to believe everything on the internet? lol, joke) but seriously, here’s why:
The Crisco Candle is an Emergency Candle for a reason. It is not designed to be a long term source of light, but it could help in emergency situations. The Crisco container is a foil-lined cardboard tube which can definitely catch fire once the melted oil makes its way down into the paper. In the event you must use this option, it’s a good idea to scoop some of the Crisco into a more stable container that has less of a chance of burning through.


141026_0002

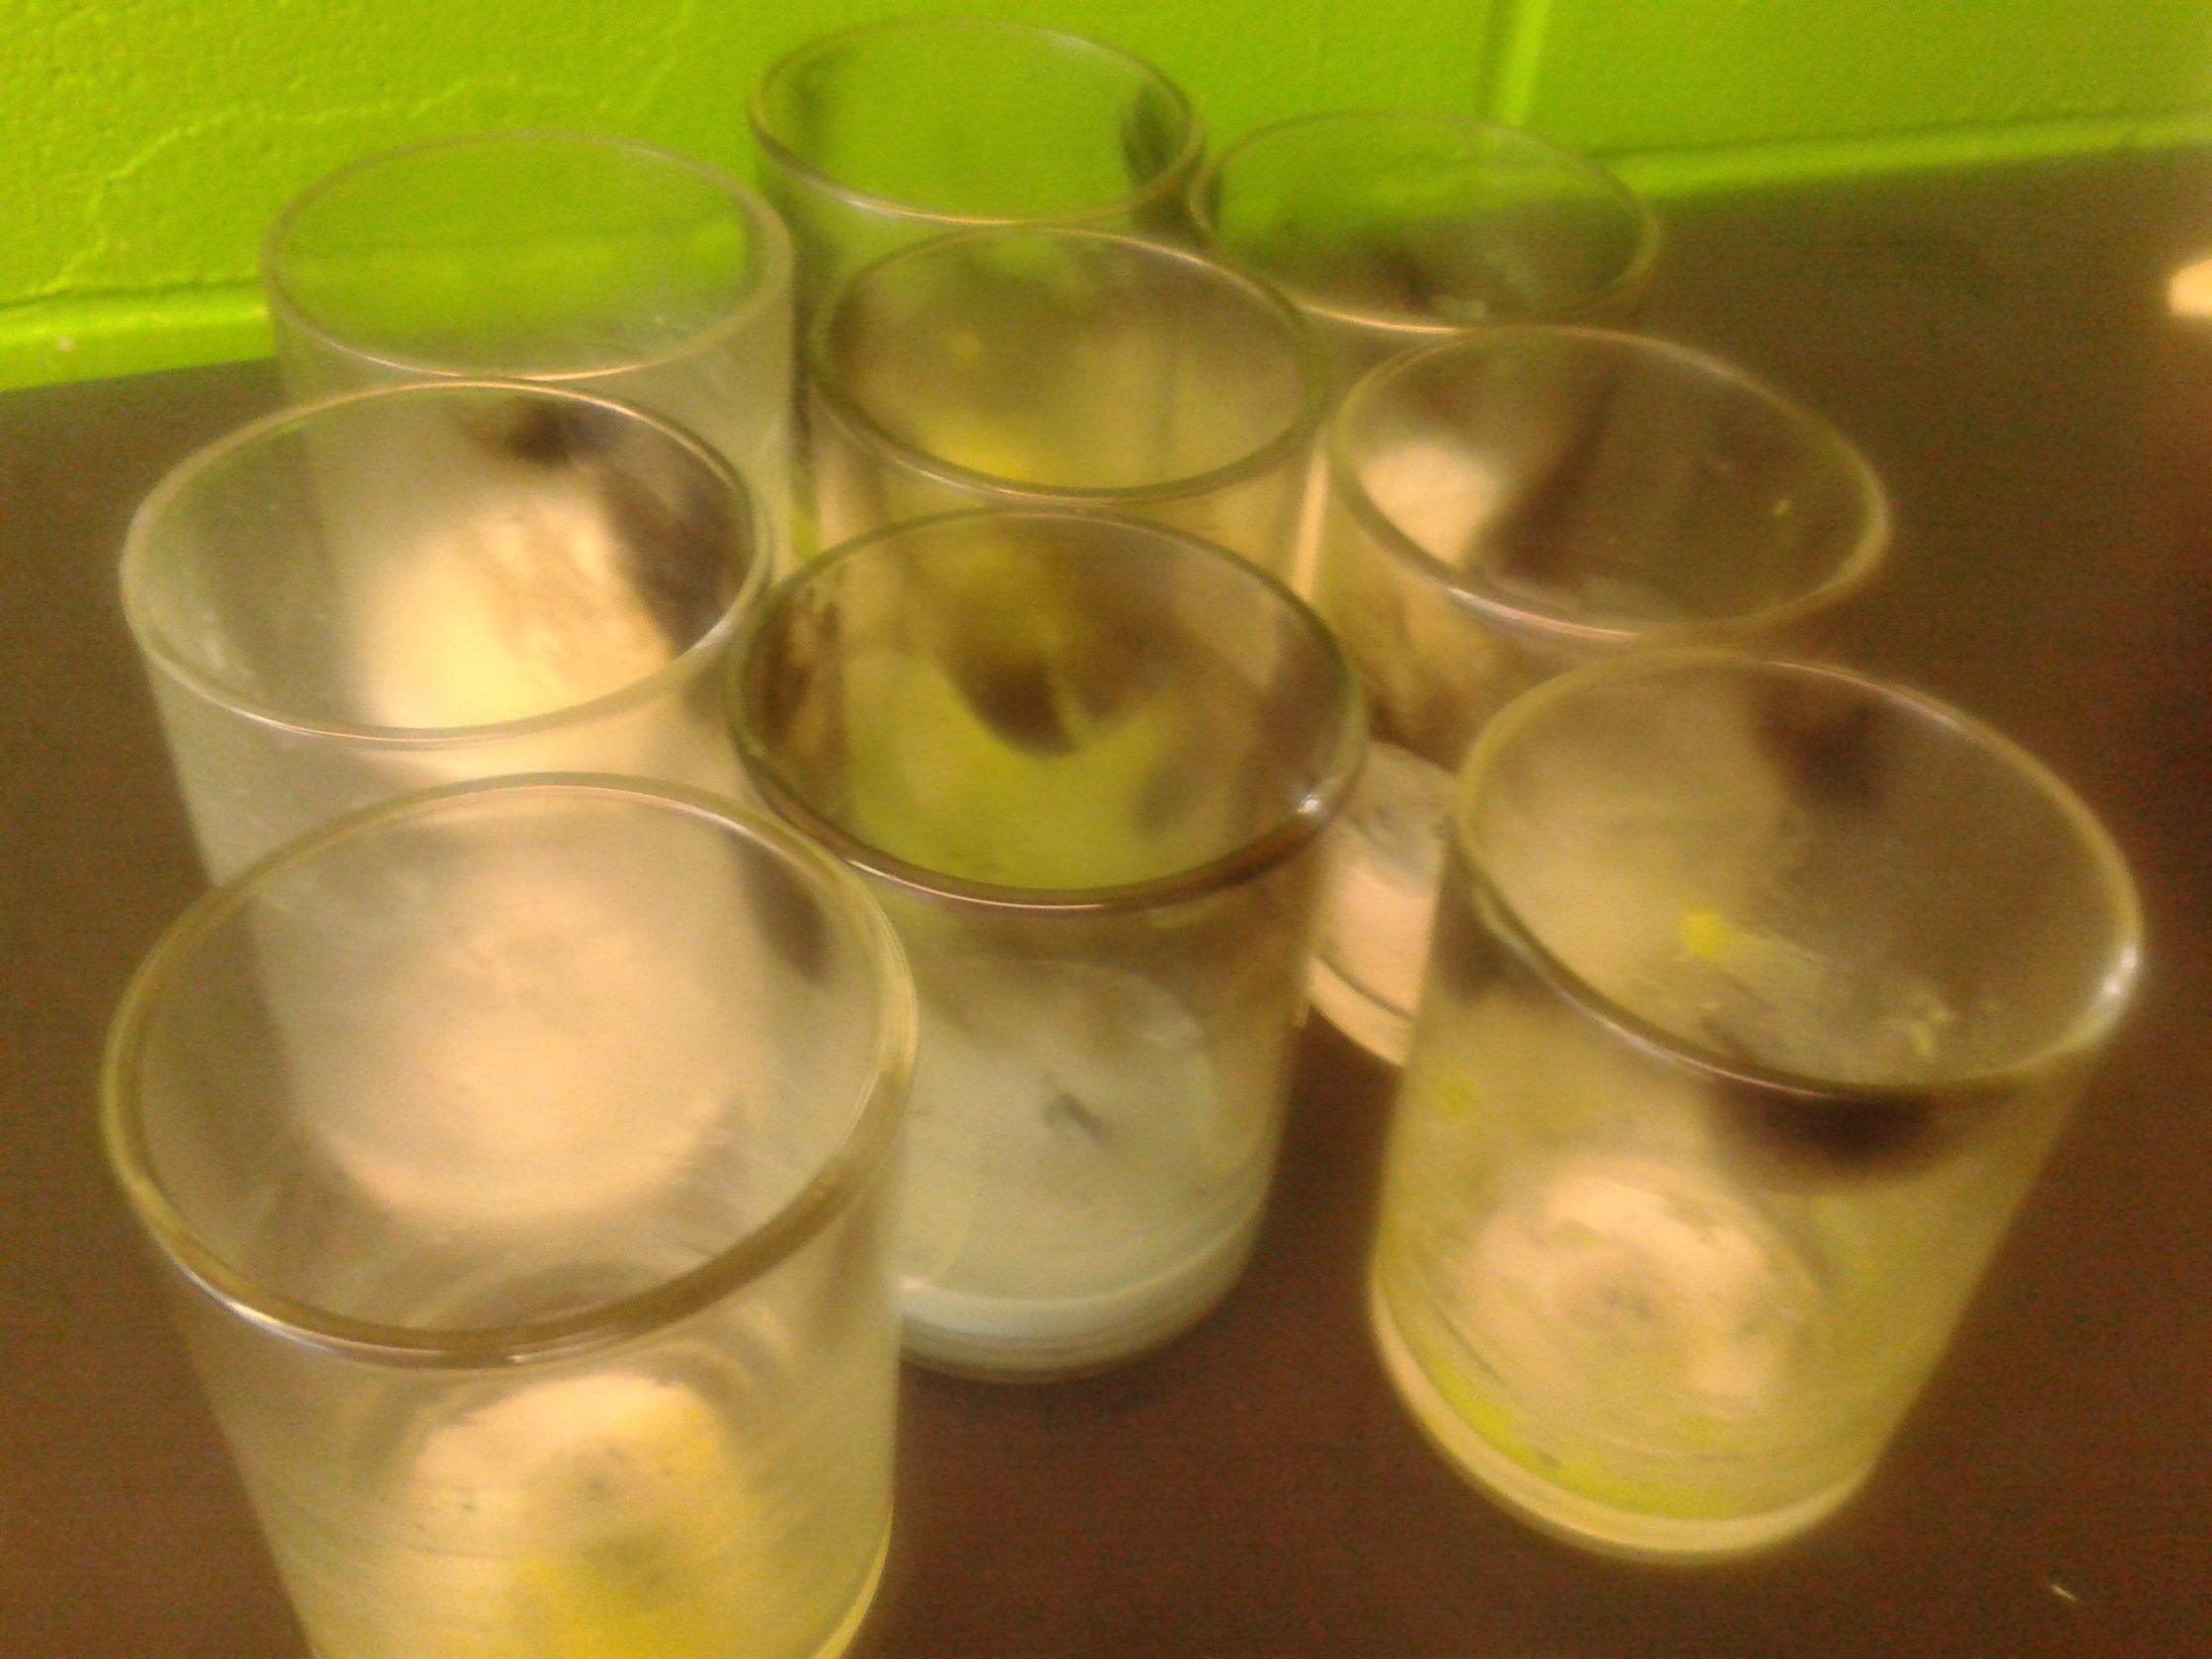
As seen in the picture, I collect Candle glasses after the wax has burned down specifically for this purpose—so I can use it in the event I must make my own candle. The Crisco Candle is a great creative source of light for an emergency, but it is not something you leave burning for an extended period of time or that you walk away from.


Butter Candle

IMG_3215

This one comes with the same Caution label as the Crisco because of the paper wrapping, but we’ll get to that later.
You’ll need:
• 1 Stick of Butter
• Knife
• Toilet Paper
• Toothpick
• Lighter

Take the stick of butter and slice it in half, that’s right, right down the middle (horizontally of course….please don’t slice the butter down the middle from the top, vertically in other words. It will be no good).
Next, with the toothpick, make your hole in the middle by sticking it down in the middle; this is where your “wick” will go.
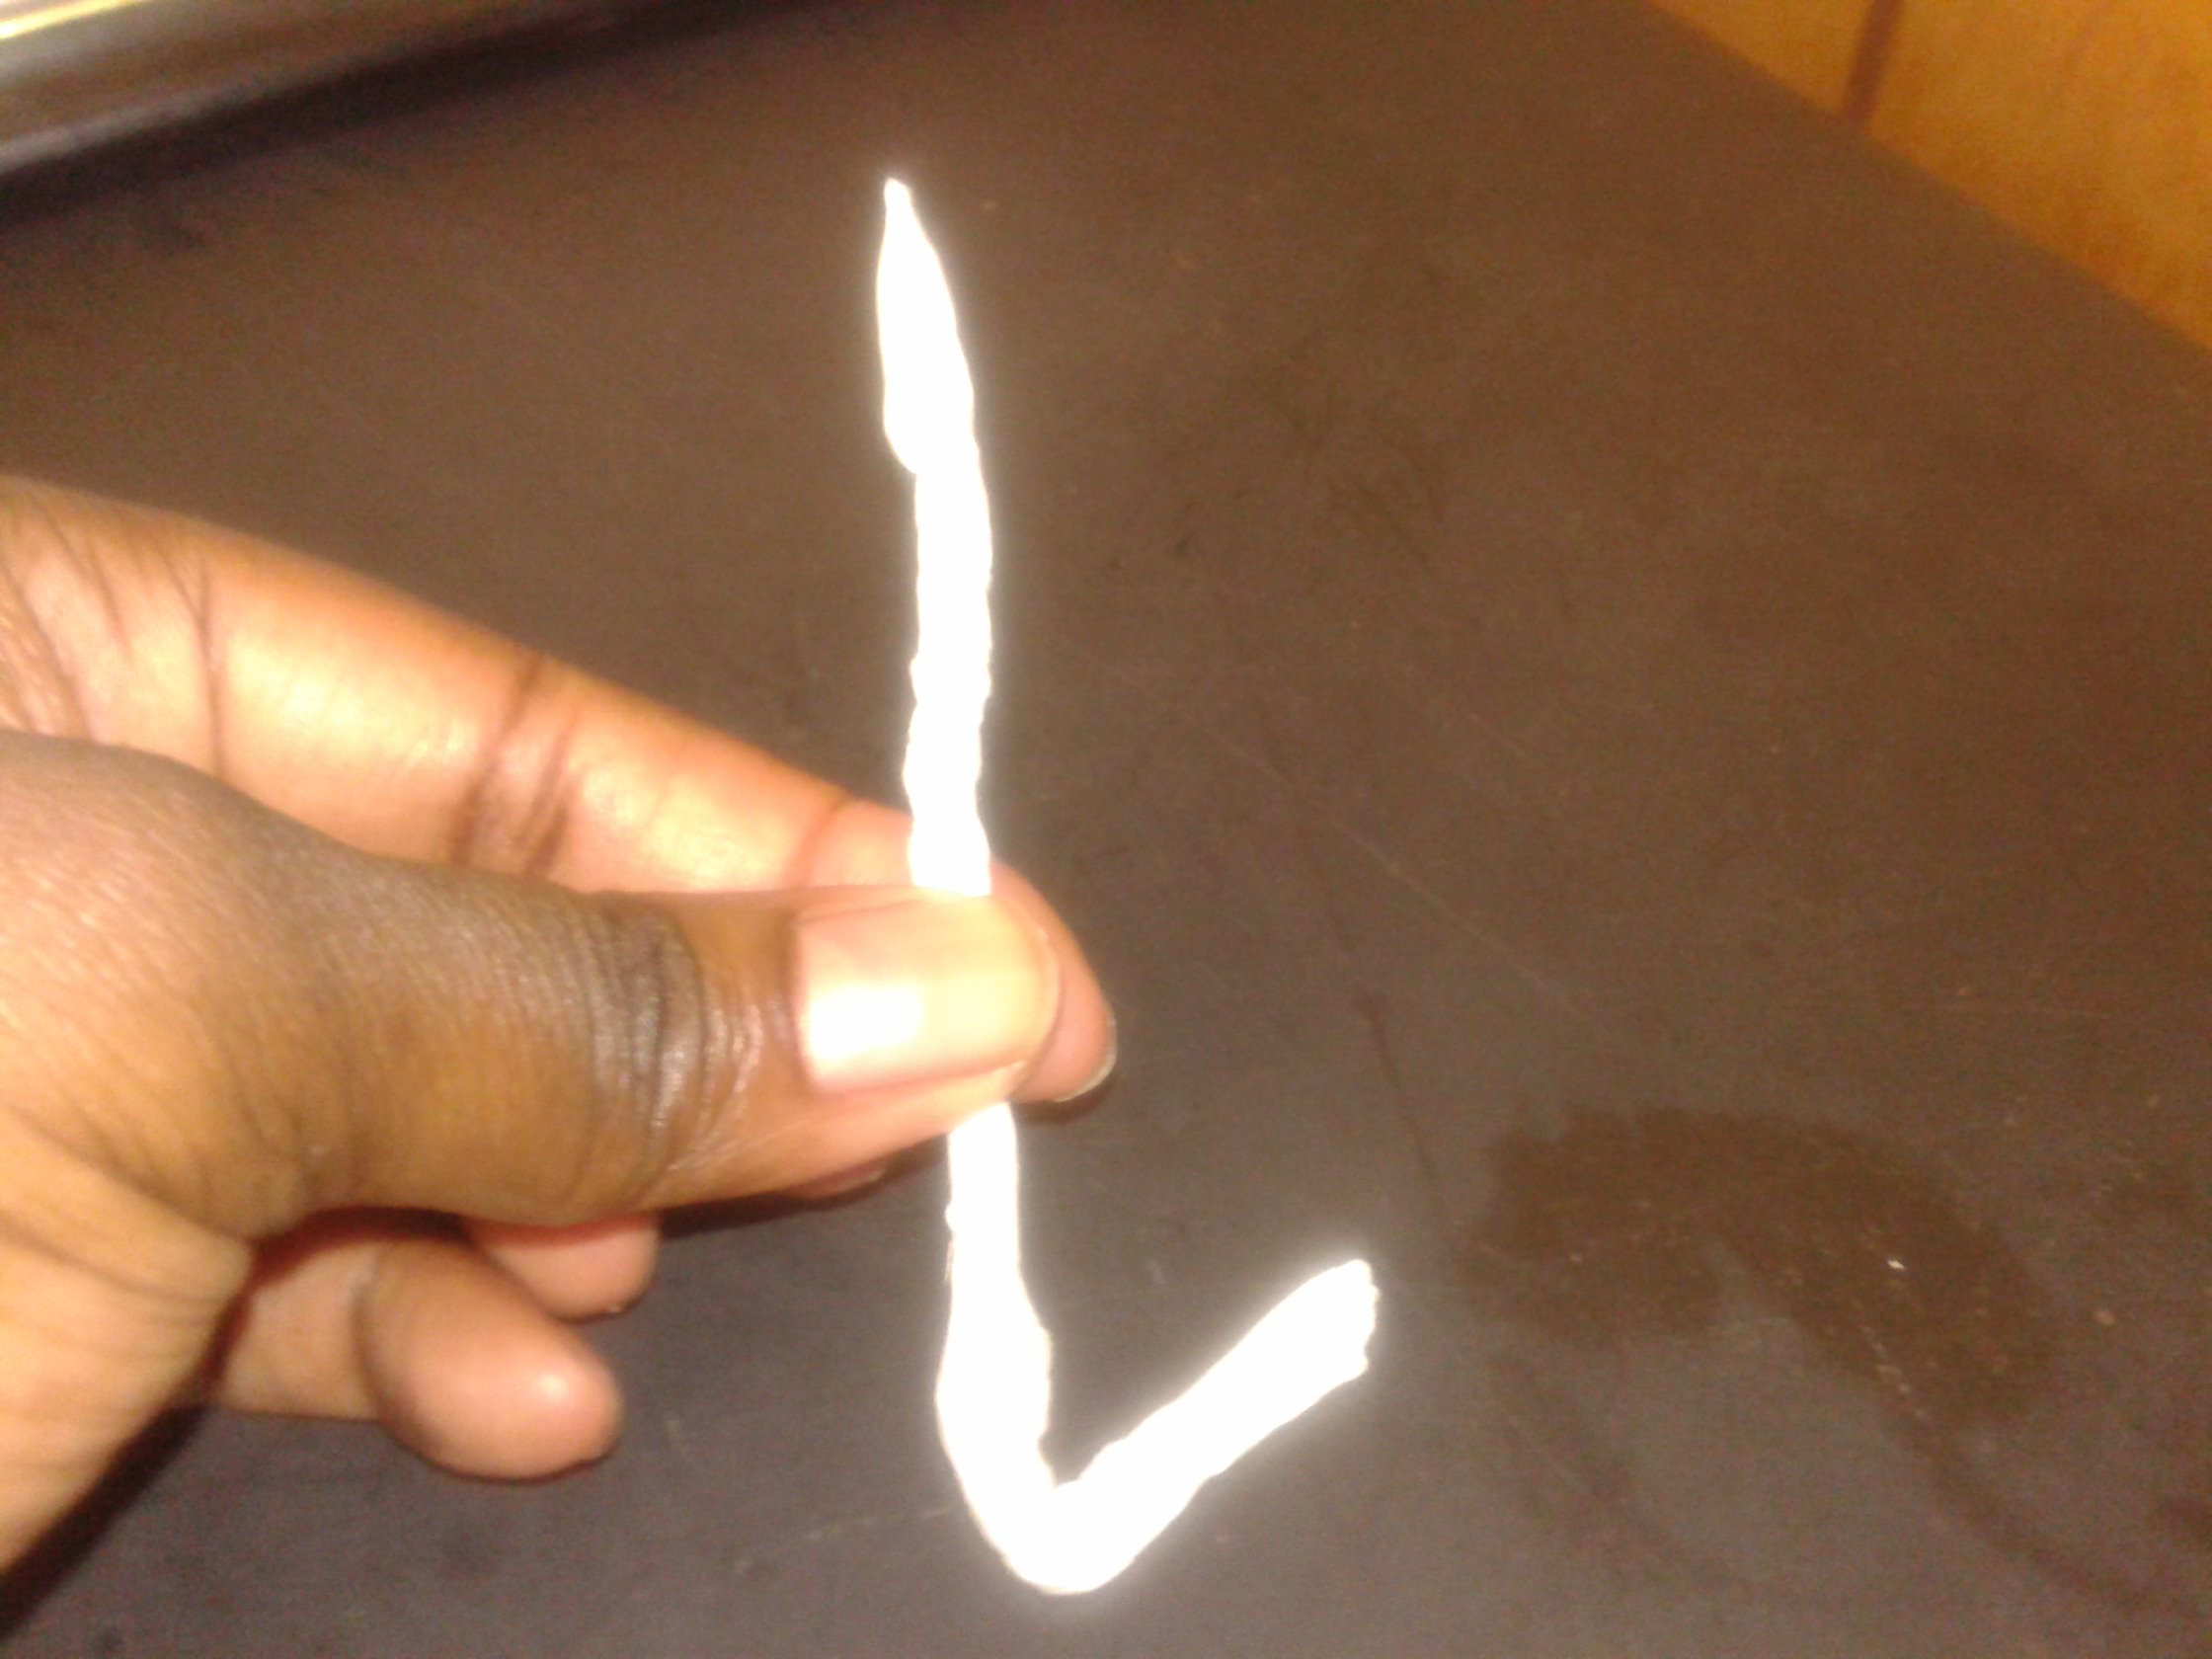
Now, you can buy extra wicks for emergencies, but if not, you can make your own. Tear a nice piece of toilet paper, and roll the toilet paper into a tight roll like your rolling a blunt (don’t lick it though).

141026_0004
Now, twist the rolled toilet paper so that it’s nice and tight, and bend it at the end as seen in the picture.
Using the toothpick, stick your toilet paper wick into the butter (the bended end will make it easier to stick it down). Make sure to rub the top of your toilet wick around a bit in the butter before lighting it.
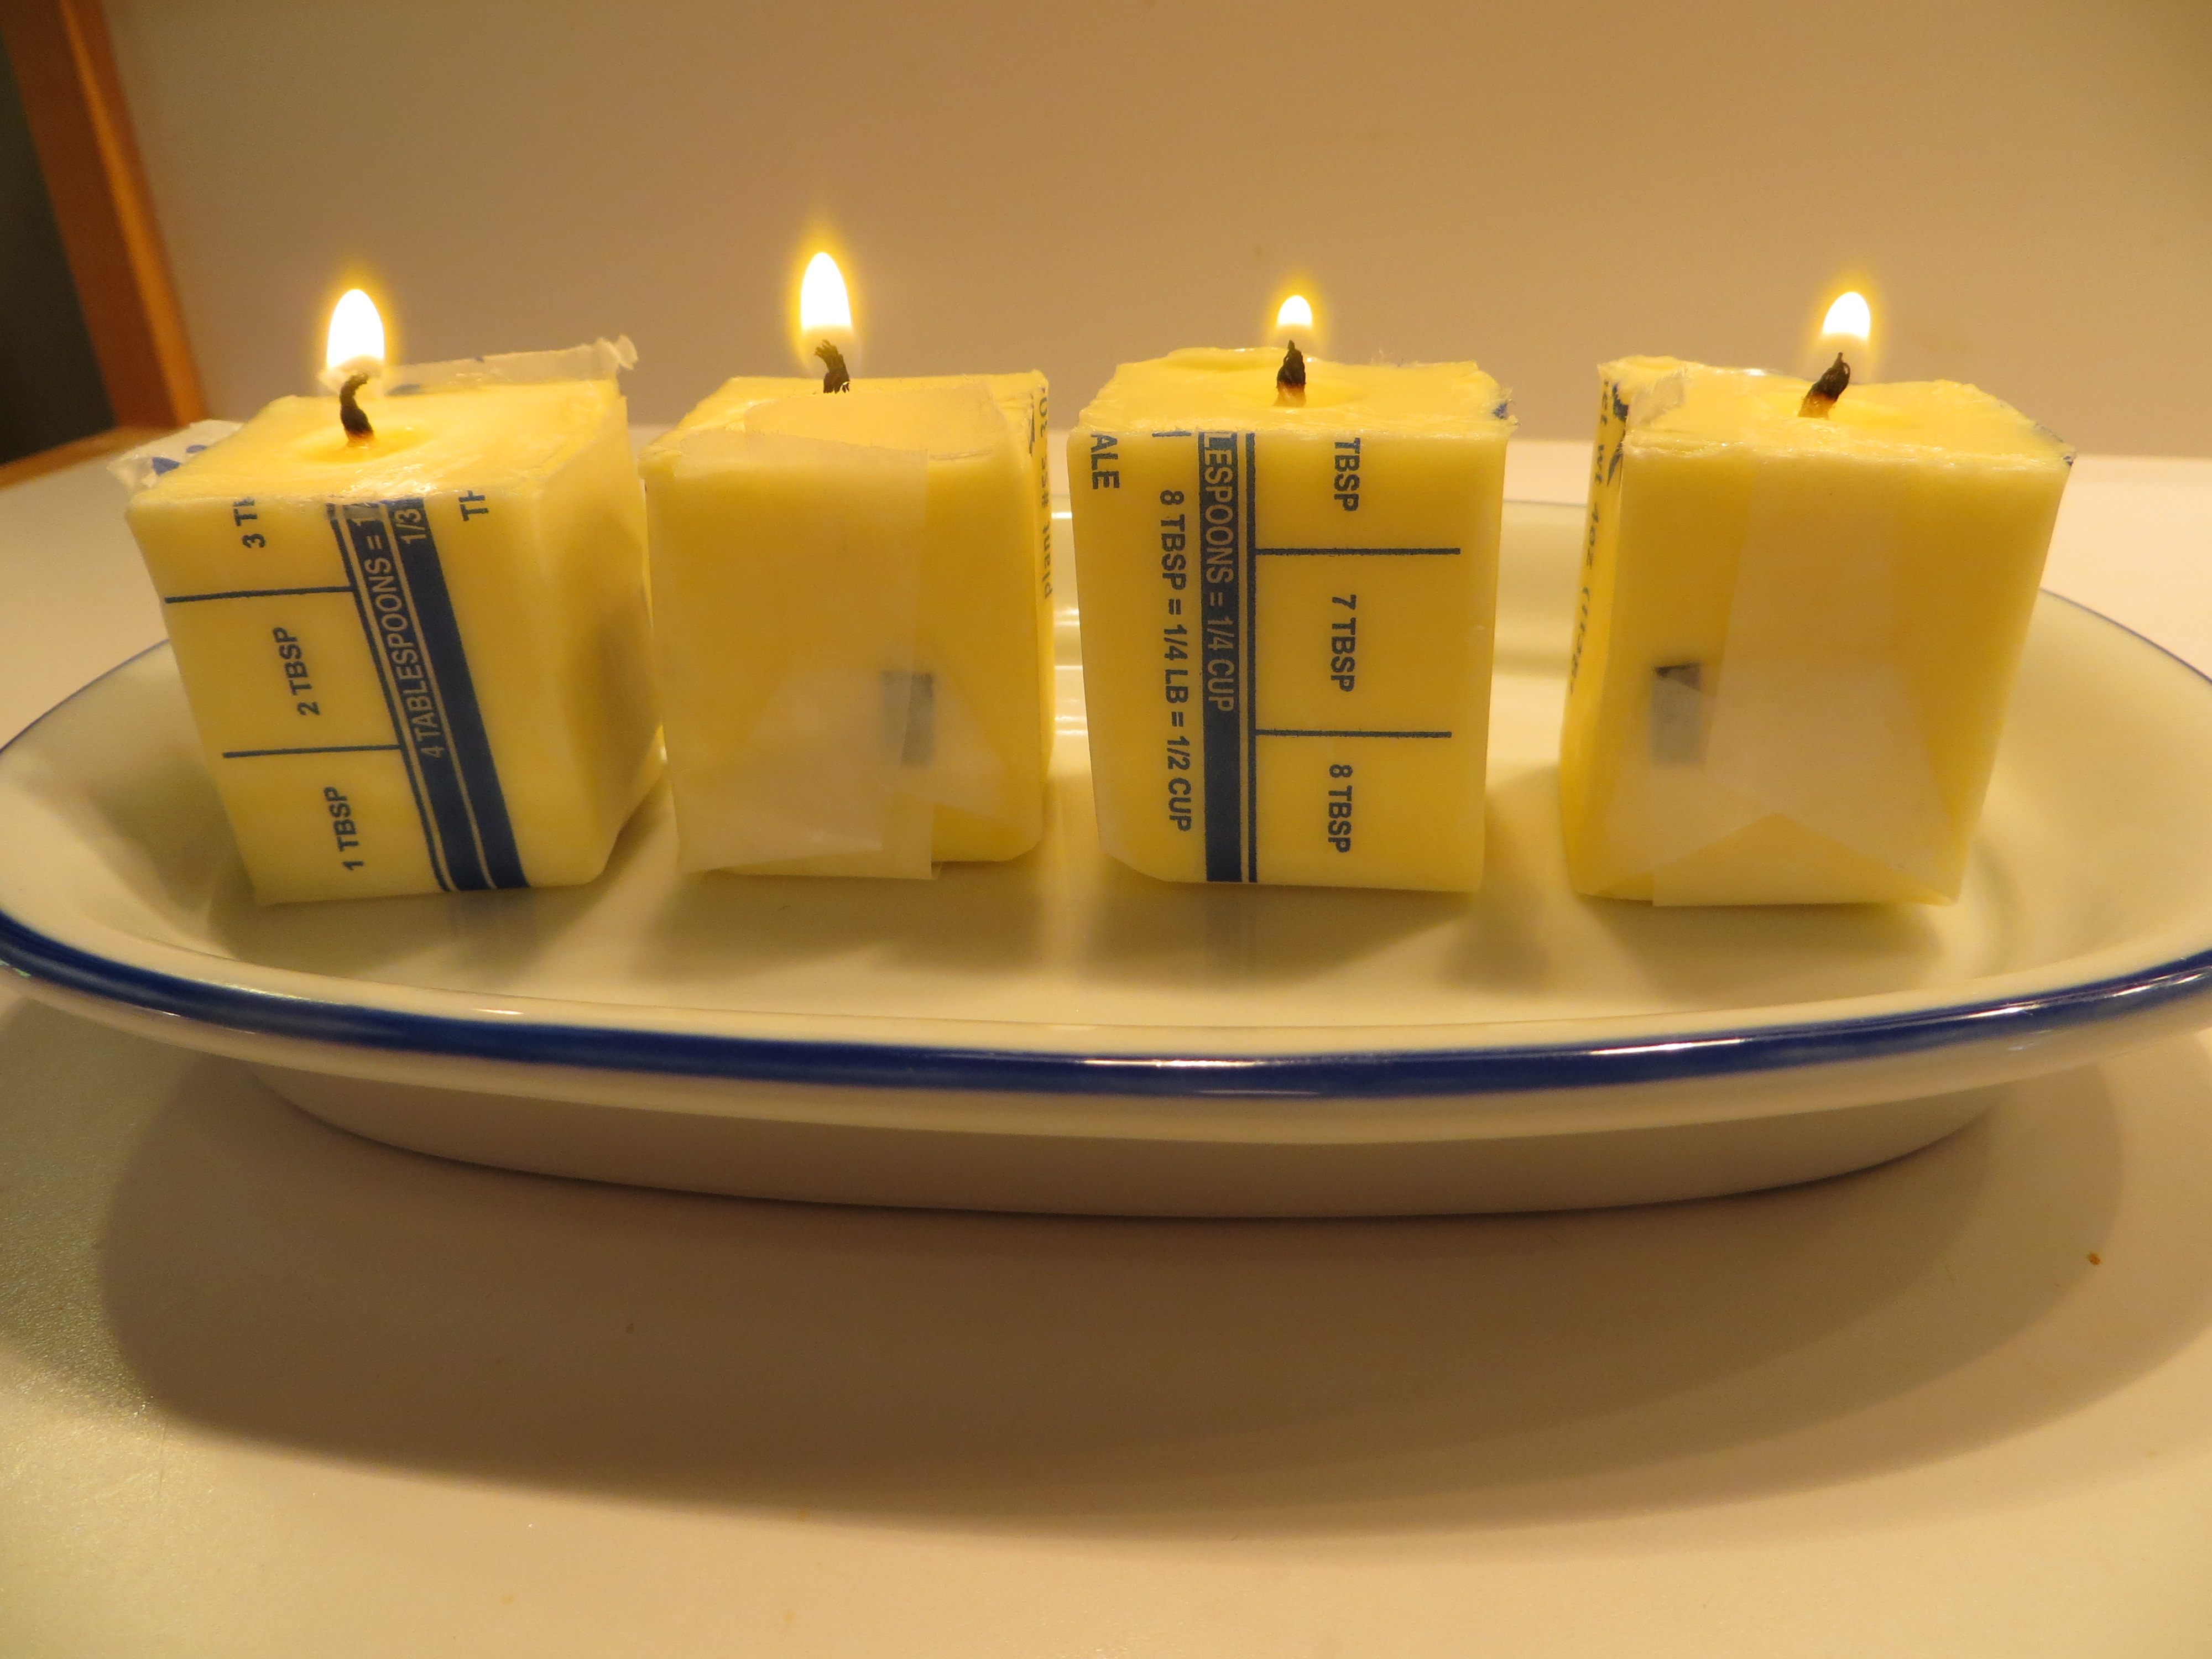
Light it and there you have it, a butter candle!
Now, this is an emergency tip. Like the Crisco, it is not designed to last for long periods of time without taking extra precautions. Instead of having it just in the butter like on these pictures, you can just take some butter and put it into a better container to ensure a longer burn.

Every Tablespoon of butter burns for approximately 1 hour. That means one stick of butter will give you 8 hours of emergency light. Use your time wisely.


warning_answer_1_xlarge WARNING: This post is not from a professional perspective and is not a recommendation from any Fire Department or Medical Professional. Candles should be handled by an adult mature enough to take the precautions necessary to handle fire.

The Humble Challenge

I challenge you not to think more highly of yourself than you should think in 3 easy steps:

a.  In the time of plenty, think of the time of hunger


b.  In days of wealth, think of poverty and need


c.  In the day of warmth, remember that the seasons change