So I have a niece with extreme allergies. As a result she is a vegetarian, but not just a vegetarian but extreme vegan. Her allergies are so bad that she cannot eat meat and is pretty much allergic to anything you can find in the dictionary. So anyway, I invited my sister and my nieces to my home to chill one Sunday afternoon and my sister mentioned we were having burgers.
“Burgers? But niecee can’t eat burgers”.
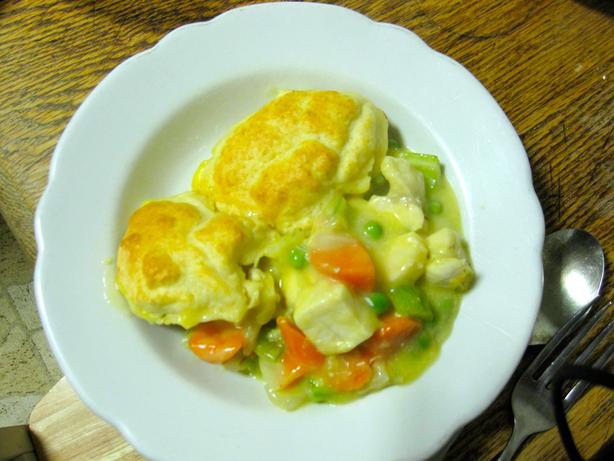
“Oh yes she can”, said sis, “She can eat these burgers”.
And this is how I was introduced to the Mung Bean.
My sister (we’ll call her V for now) made some of the most delicious vegan burgers I’ve ever tasted for them not to be made of meat. Now mind you my household is meat-a-tarians. I don’t have to define that for you do I? So yea, we meat eaters around here. But we both enjoyed the burger alternatives. Throw some cheese on there and make it up like a regular burger and Burger King ain’t got nothing on you. She made them thick and meaty too. V also makes imitation steaks out of these. So today I would like to share some information with you on the Mung Bean from an Article V gave to me written by a woman named Kim @ Affairs of Living:
 “If you eat beans, but haven’t yet ventured into the wonderful world of mung bean, you must! Mung Beans are used in many ways in SE Asian, Indian, and Middle Eastern cuisine. They are soaked, ground and used for flat-breads. They are sprouted and served raw. They are processed into noodles. They are peeled and split, and used to make dal, where they take on a smooth, velvety texture that is a true comfort food. They are cooked whole with coconut milk to make a sweet soup. They are mashed and used as fillings in sweet buns and deserts. They are cooked plain and added to various rice dishes. Quick cooking, full of protein, and easily digested, mung beans are considered to be an extremely healing and nourishing bean. Because they are small, they are easier to digest than larger beans, and are recommended for cleanings the body toxins. In Ayurveda medicine, they are considered tridoshic, meaning people of every constitution can find nourishment in the mung bean. And in Chinese medicine, mung beans are considered a cooling food and are recommended for detoxification, clearing heat, reducing swelling and edema and promoting urinary tract function.
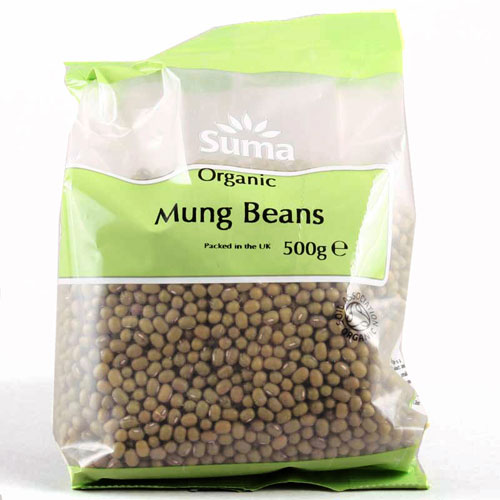 Dry mung beans can be purchased in a variety of ways. Whole, they are bright and green. Or you can purchase them split where they take on the name moong dal. You can get moong dal either with the skins still on and or peeled-once peeled, they are light yellow. I love peeled moong dal, it is probably my favorite. I generally buy mung beans at the Asian markets, where they are the cheapest (this is also where V buys hers).
Hint: You can also use the mung bean as a flour!
“Additionally, it is high in iron, folate, copper, magnesium, manganese, phosphorus and potassium. Mung beans are also considered a low glycemic food, and are perfect for people concerned about blood sugar spikes. Using mung bean flour combination with other flours is a great way to add extra protein, fiber, and healthy, slow-digesting carbs.
Homemade Mung Bean Flour – Gluten Free, Vegan, High Protein
Yield: Approx. 2 1/4 c Flour.
Ingredients:
2 c mung beans (either whole or peeled or split or a mix)
Equipment:
Coffee Grinder or High Power Blender
Roasting the Beans:
1. Preheat oven to 400 F.
2. Spread beans evenly on baking sheet. Place in oven and roast for 20 minutes until golden, stirring every 5 minutes to prevent burning.
3. Remove from oven and cool completely.
Grinding the Beans:
1. In a coffee grinder or high power blender, grind the beans in batches. I used a coffee grinder (No, not me, Kim) and ground 1/2 c beans at a time.
2. Grind for approx. 30 seconds, shaking beans in grinder to evenly mix.
3. Once your beans are ground to a fine powder, transfer to a large bowl and grind the next batch.
4. Once all of your beans have been ground, let the flour cool (Grinding warms it up!) and then transfer to an alright container. Store in a cool place.